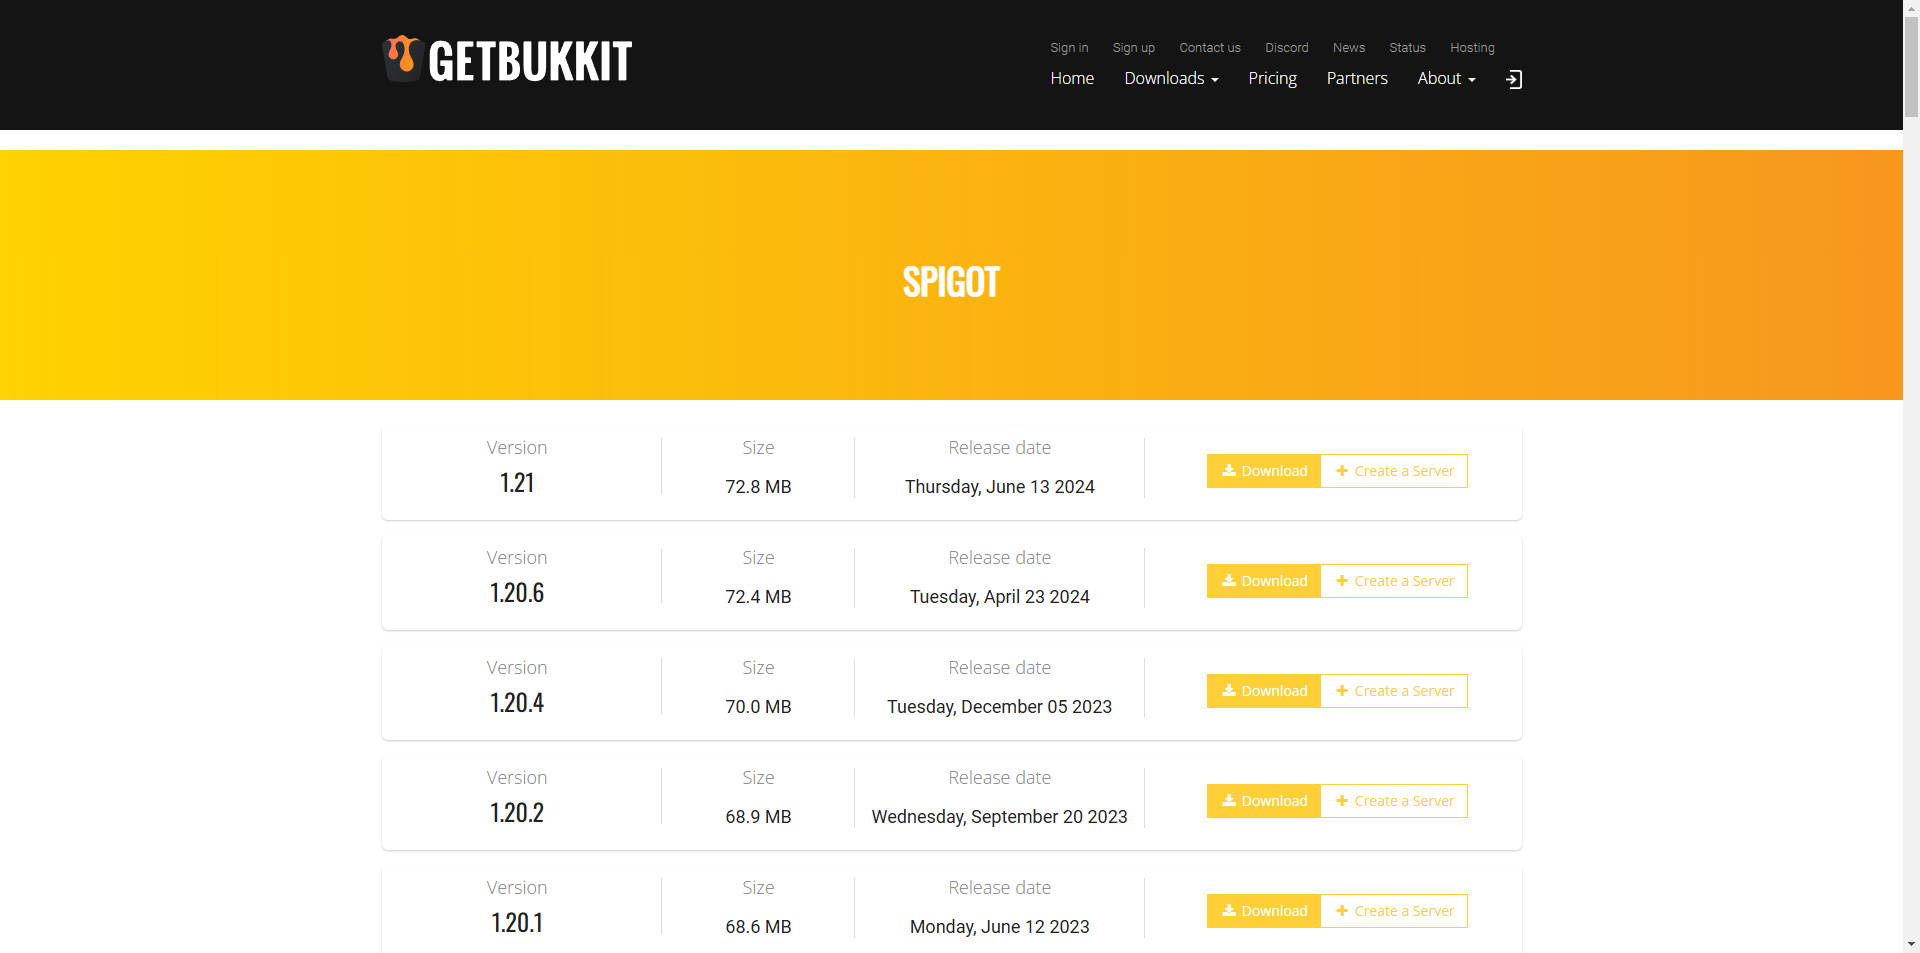
Running a Minecraft server can be a fun experience, allowing you to create unique worlds and interact with players. However, sometimes you may need to change your server version to access new features, accommodate mods, or accommodate player preferences. To get started, decide which version of Minecraft you want to run. Consider factors such as new features, mod compatibility, and stability, and check the official changelogs or modpack requirements. It is essential to back up your server data before proceeding. Stop the server, make copies of key files such as the world folder and server.properties, and save them in a safe place to avoid losing progress or custom builds. You can check for the latest versions on getbukkit if you want to use Spigot, or Paper on the developer’s official website.

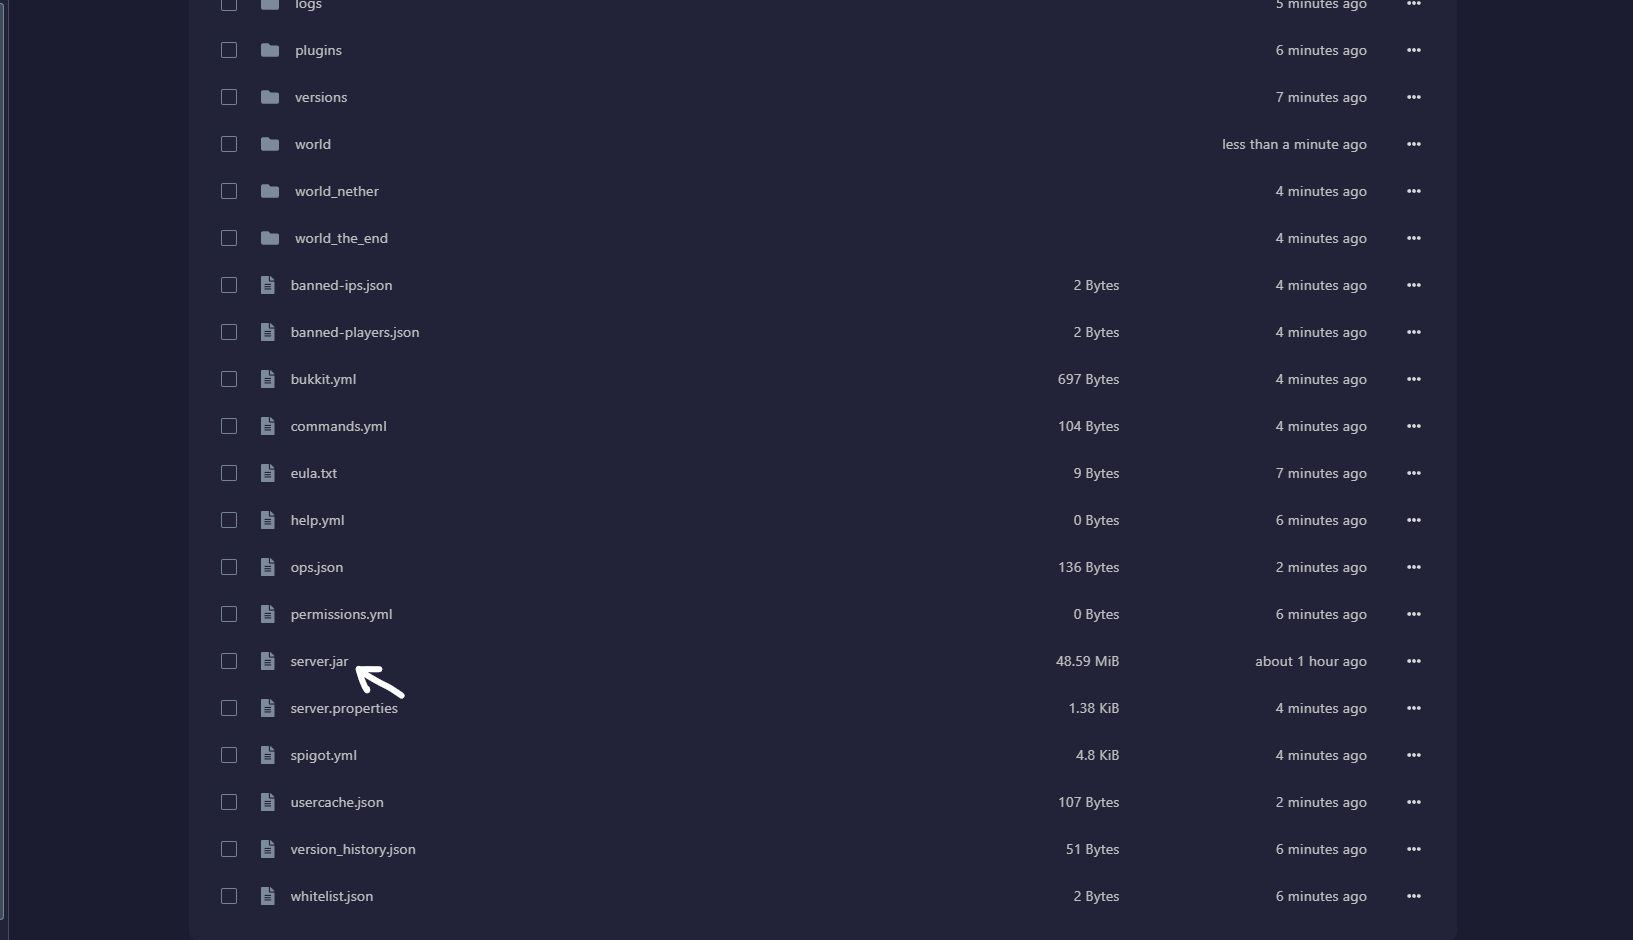
Once ready, download the server jar file for your desired version. Replace your current server jar by navigating to your server directory, deleting or renaming the existing jar, and placing the new one in the same location. For consistency, rename the new file to server.jar.
After replacing the server jar, review your server’s configuration files. Open server.properties to ensure that settings align with the requirements of the new version, making adjustments as needed. Restart your server and monitor the console for errors or warnings. If issues occur, refer to official documentation or community forums for troubleshooting. Test the server by logging in with a client version matching the server and checking for errors or inconsistencies. Invite a few players to ensure stability.

Keep in mind that mods and plugins must be compatible with the chosen version. Additionally, some Minecraft updates modify world generation, which could cause issues with existing worlds. If you use a hosting service, they may offer tools for easy version switching, simplifying the process. By following these steps, you can successfully change your Minecraft server version and ensure a seamless experience for all players. Happy crafting!