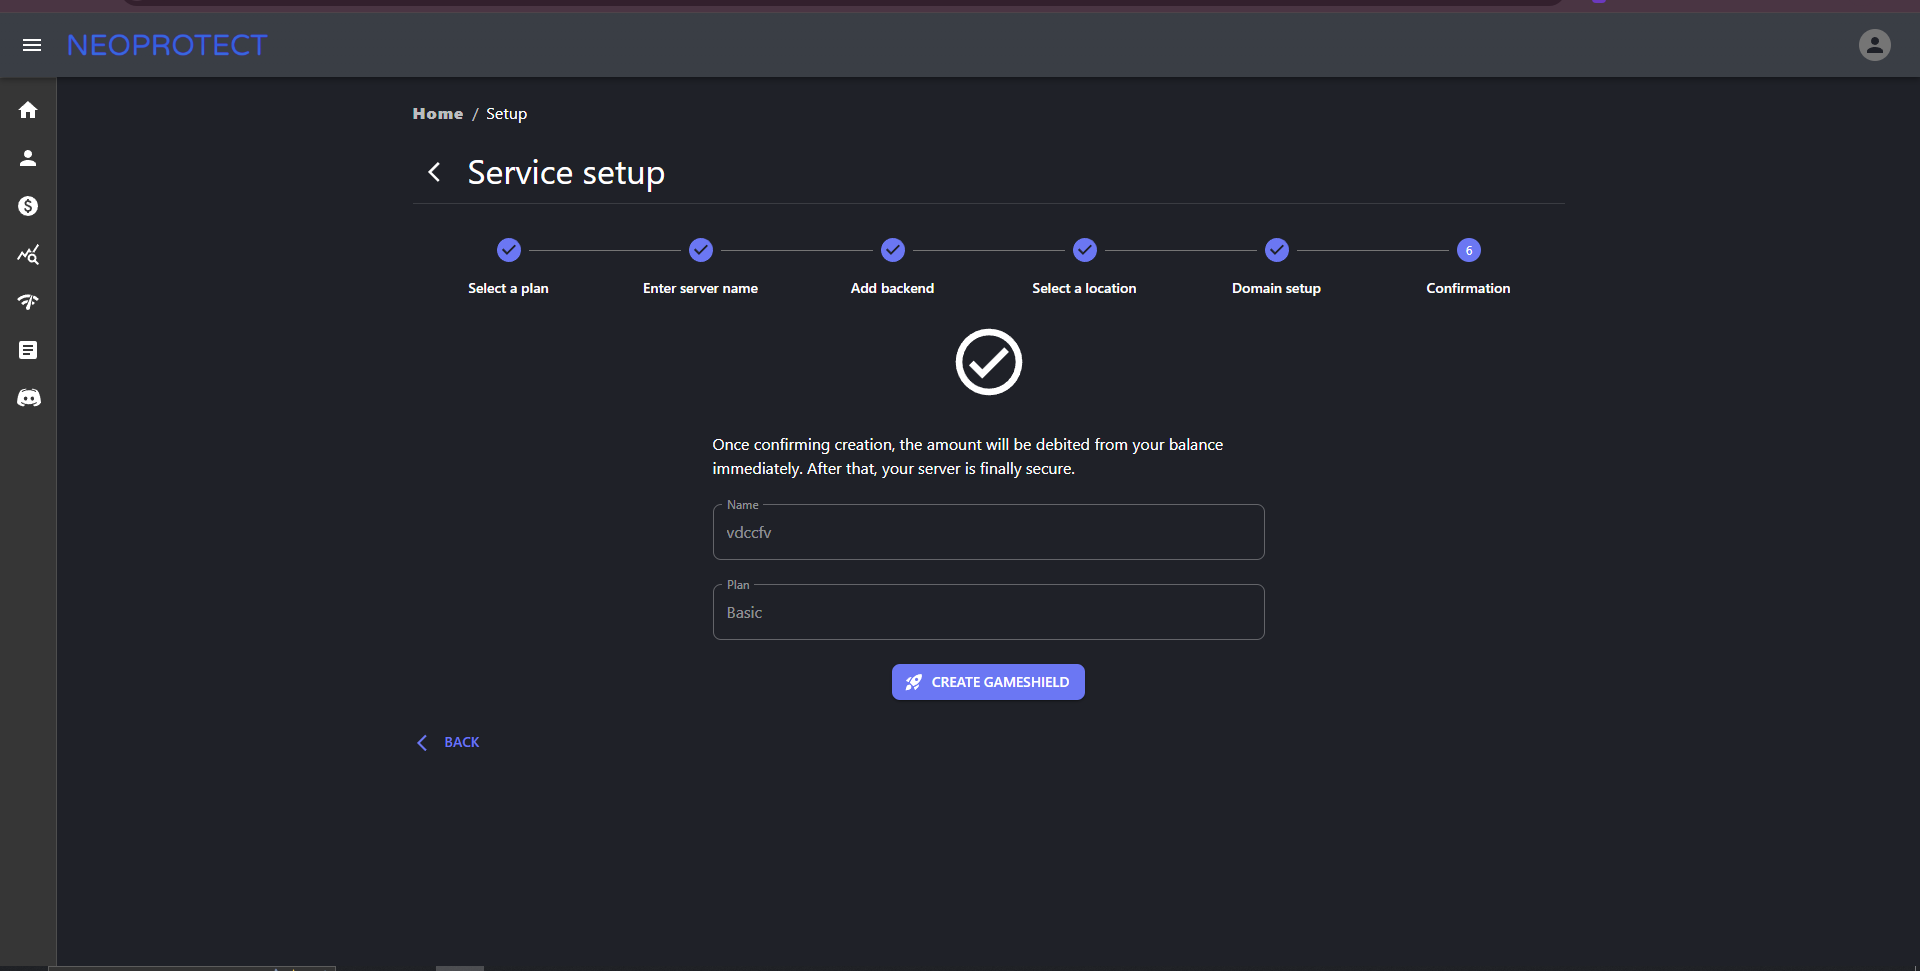
Hello friends. In this article I want to tell you how to protect your Minecraft server from DDOS attacks and share useful tips that will help you keep your server stable and safe. DDOS attacks have become a real problem for many Minecraft server owners. They can cause interruptions in work, delays and even a complete server failure, which is extremely unpleasant for both the administrator and the players.
In this article, we will analyze how DDOS attacks work, what tools can be used to prevent them, and also share effective protection methods. If you want your server to remain reliable and users to play without interruptions, then this information is definitely for you!
Follow this link. After the transition, you will be greeted by a site called NeoProtect. This service allows you to set up DDOS protection on our Minecraft server for free, you can use both the domain and the standard IP address from this service.

To start working with this service, you need to register, confirm your email. And have a server already created, which is working properly and is in the on state. Only after that you should get to the main page of the control panel.
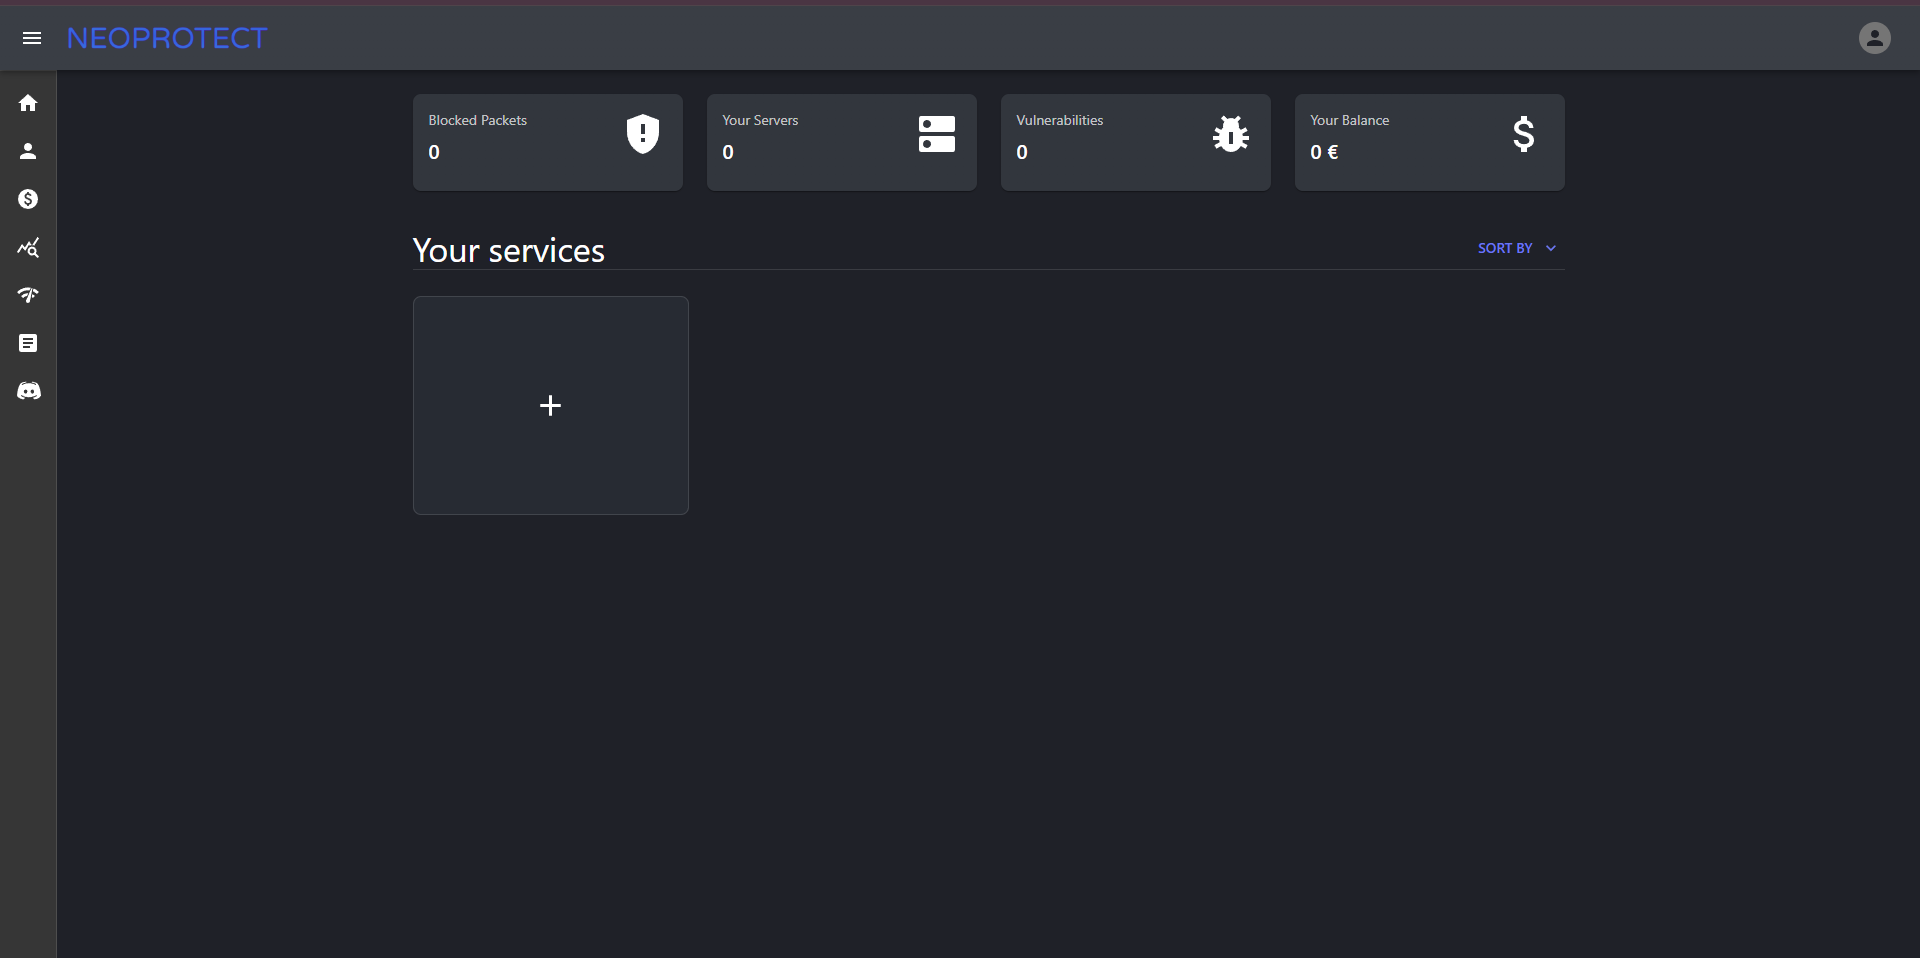
Click on the plus icon to create protection for our server. Select the “Basic” tariff. It is free. It is quite enough for the first protection of our server.
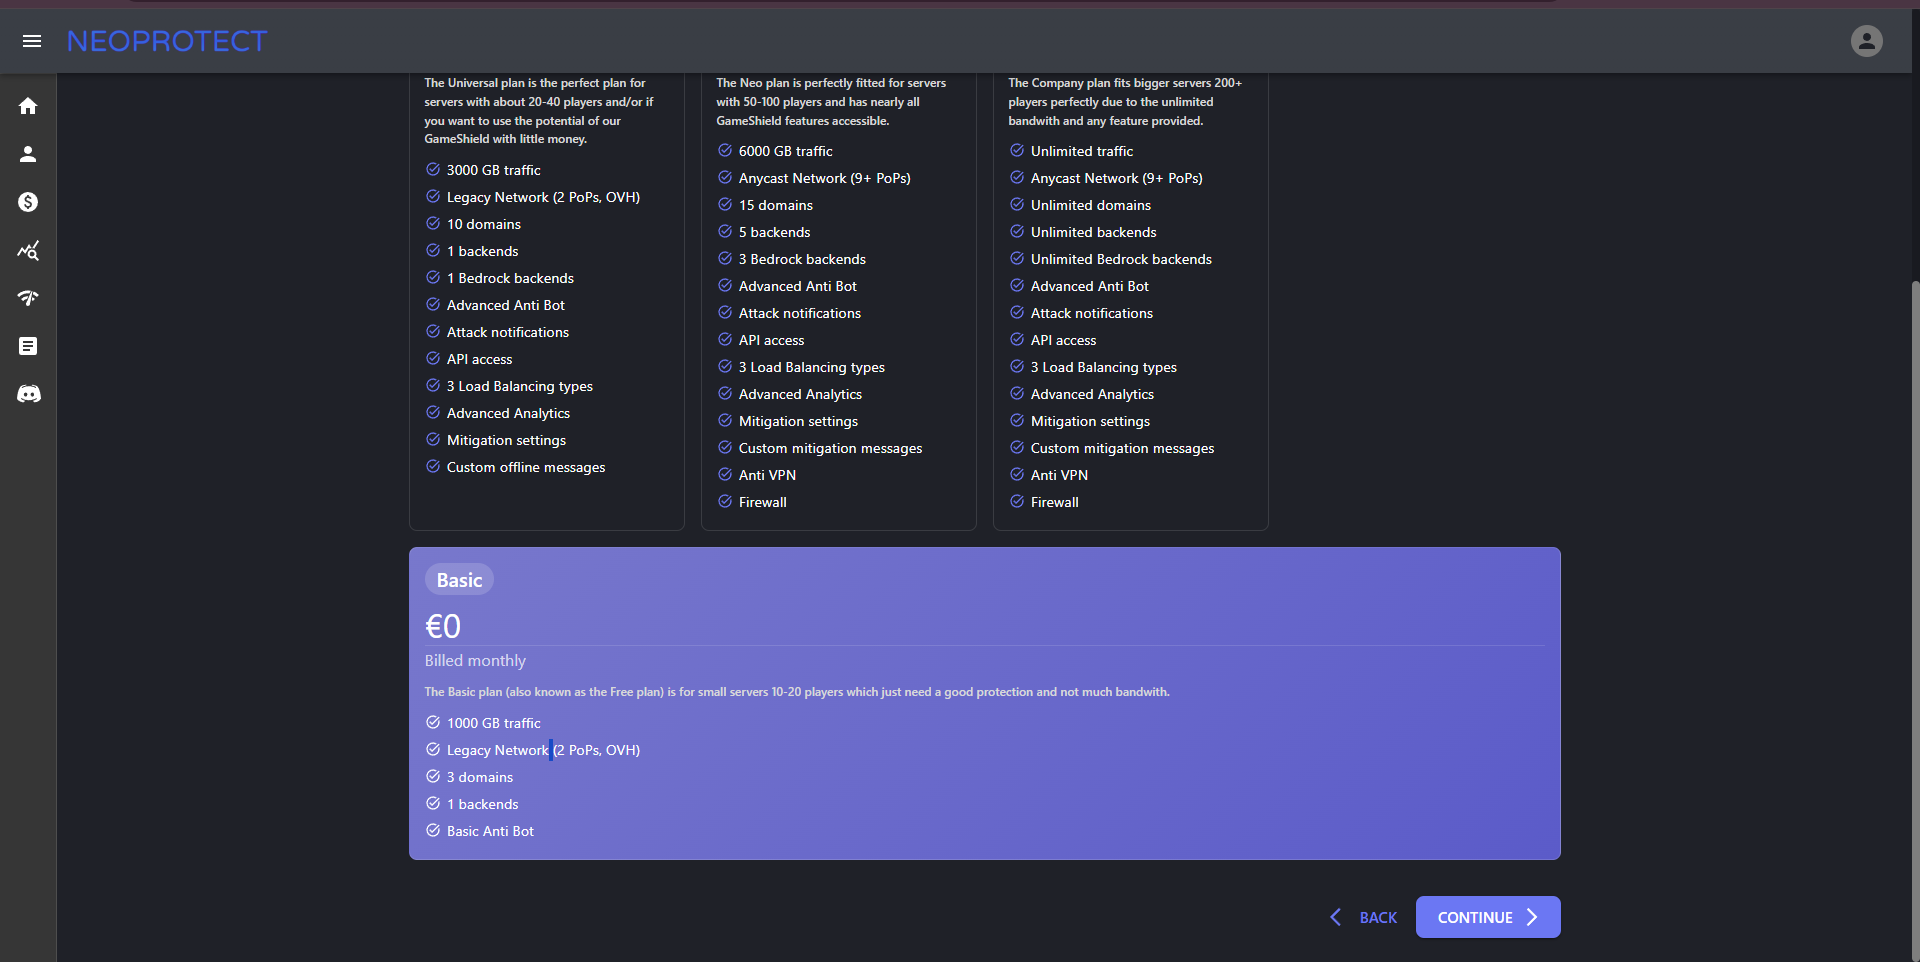
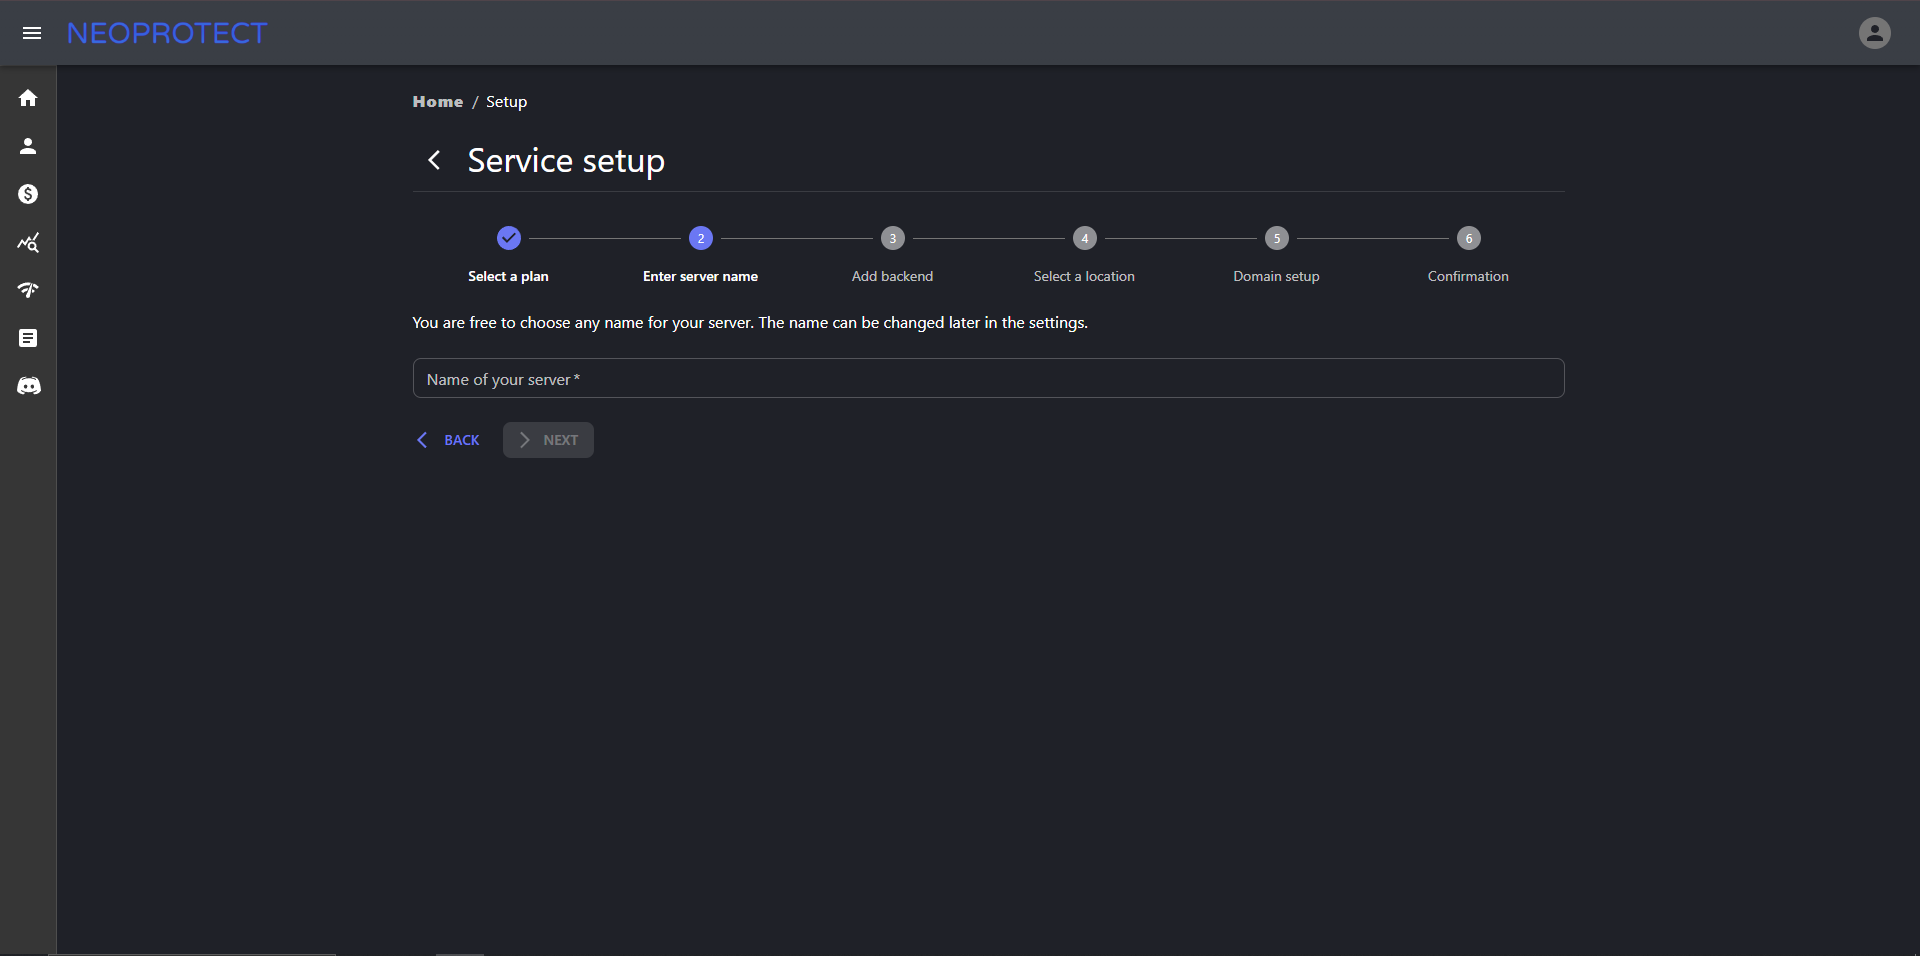
On the next page we set a name for our server. It can be anything.
On the next page you need to specify the real IP and real port. By default, this is the IP address of your server together with the port. But you will have to write everything separately.
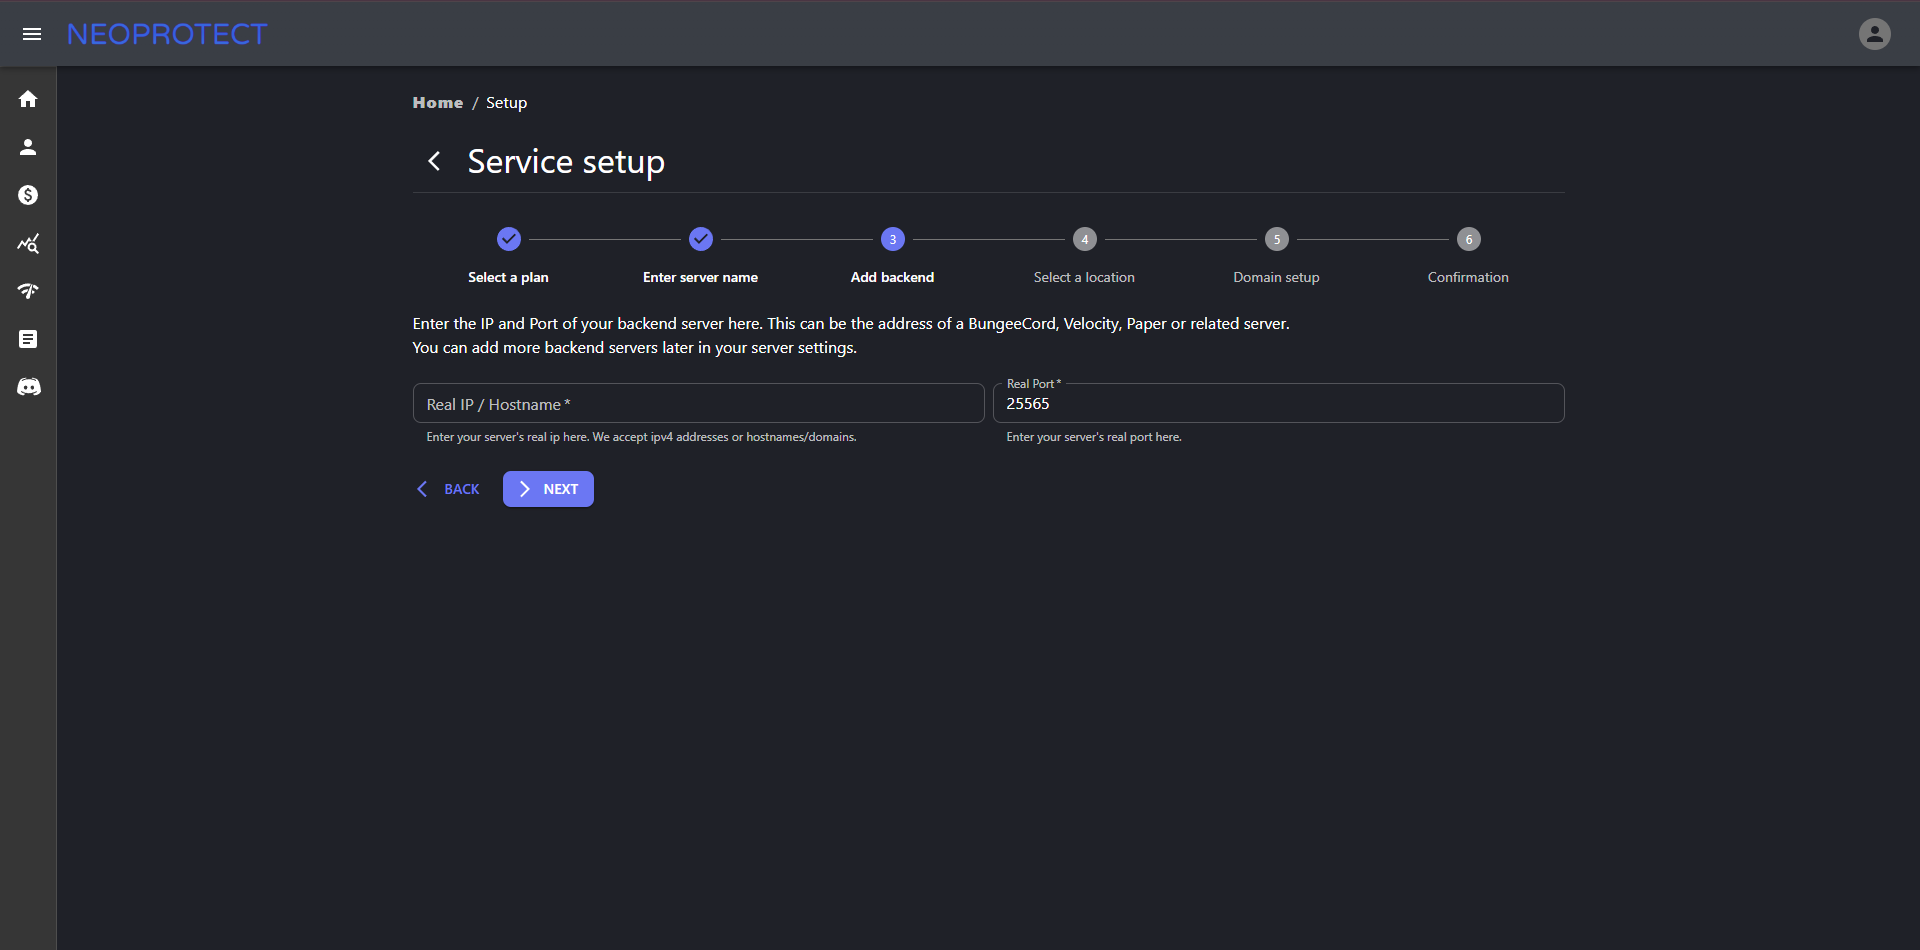
Specify the real details of your server so that the protection works properly and provides maximum efficiency. For example, make sure that you specify the correct IP address of the server, the exact ports and network settings. This is important for setting up protective tools such as firewalls, anti-DDoS services or proxy servers.
If the data is incorrect, the protection may not work correctly or at all, leaving your server vulnerable to attacks. It is also important to use only verified and official resources for setting up protection to avoid errors or security issues.
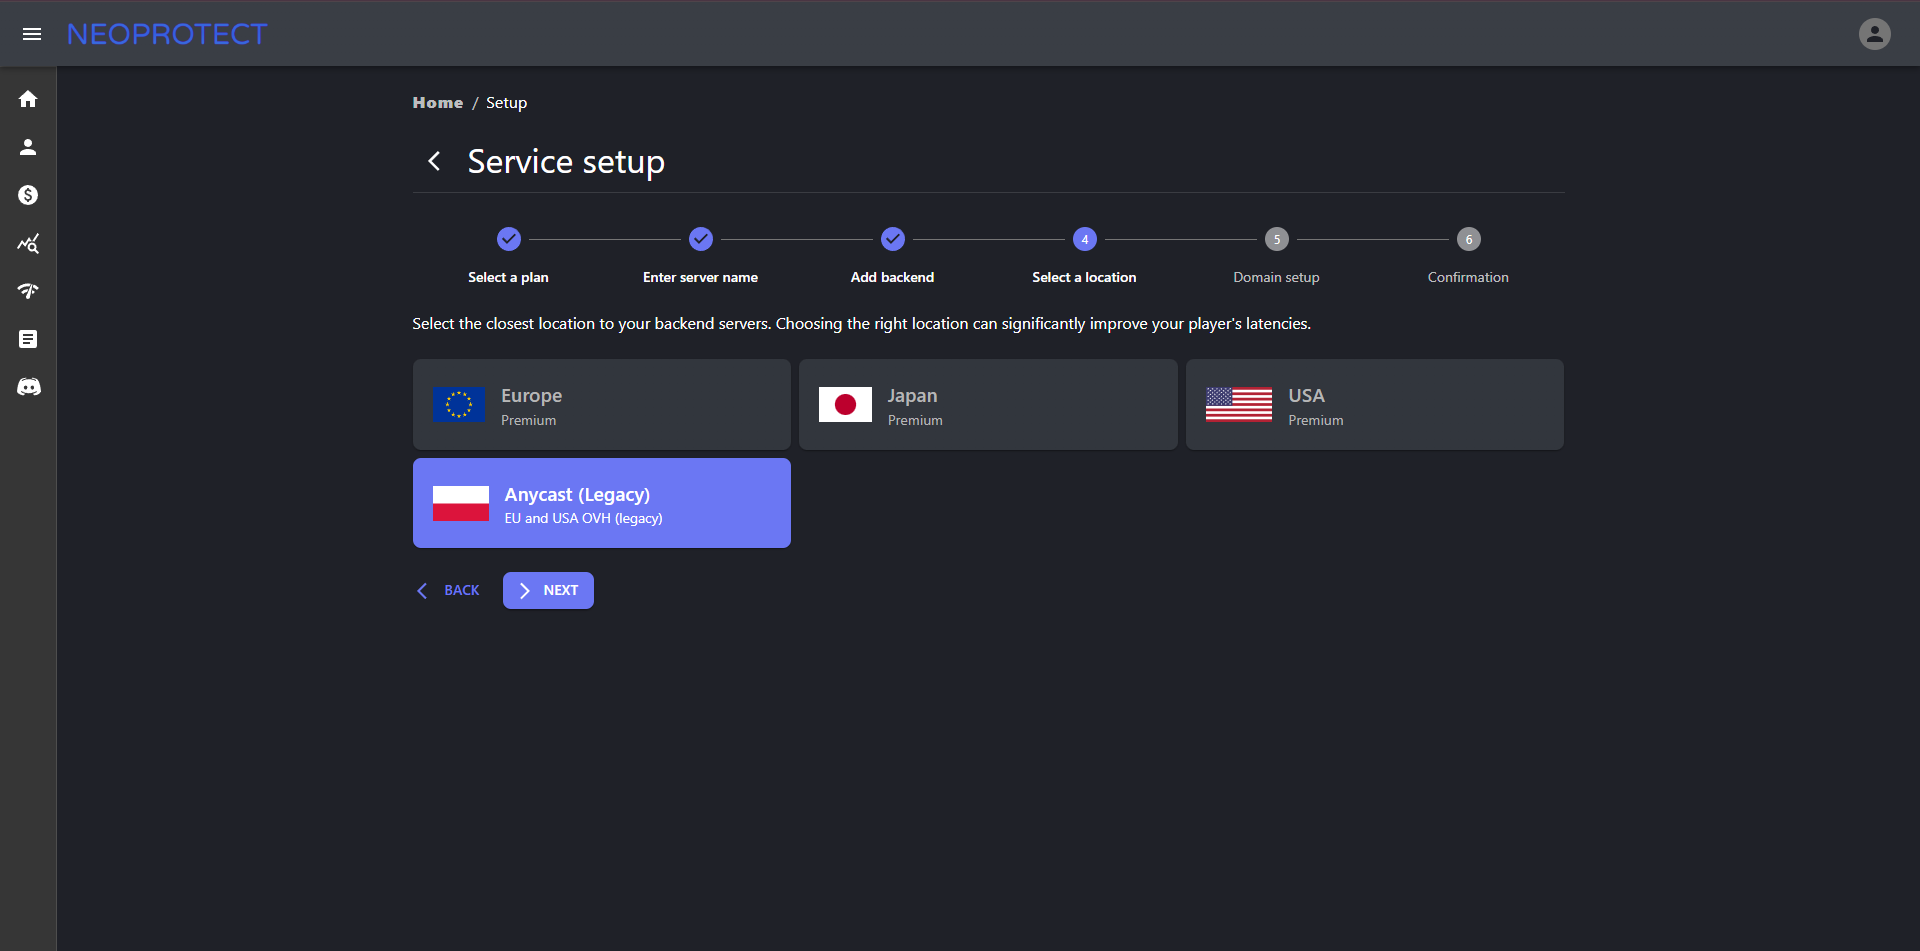
On the next page, we will be asked to select a proxy server location, I will call it that. Choose any or the one that is optimal for you in terms of ping and distance from you. In my case, it will be "EU"
This decision is based on the fact that servers located closer to you or your players provide minimal latency (ping), which improves the gaming process. The location "EU" is a popular choice, as many hosting providers provide powerful and reliable servers with good bandwidth there.
After choosing a location, it is important to make sure that the proxy server is configured correctly. Write down the data that you are provided (IP address, port and other parameters), as they will be needed for further configuration of the Minecraft server.
If you have doubts about the choice, focus on ping indicators and hosting reviews. The better the connection, the less likely the attack will affect the performance of your server.
Next, we will be asked to bind a domain to our proxy server. If you have a domain, you can enter it in the field and then follow the binding instructions from the service. If you do not have a domain, you can write anything you want in that field. For example: play.nothing.com and click the "Next" button. And this will come out:
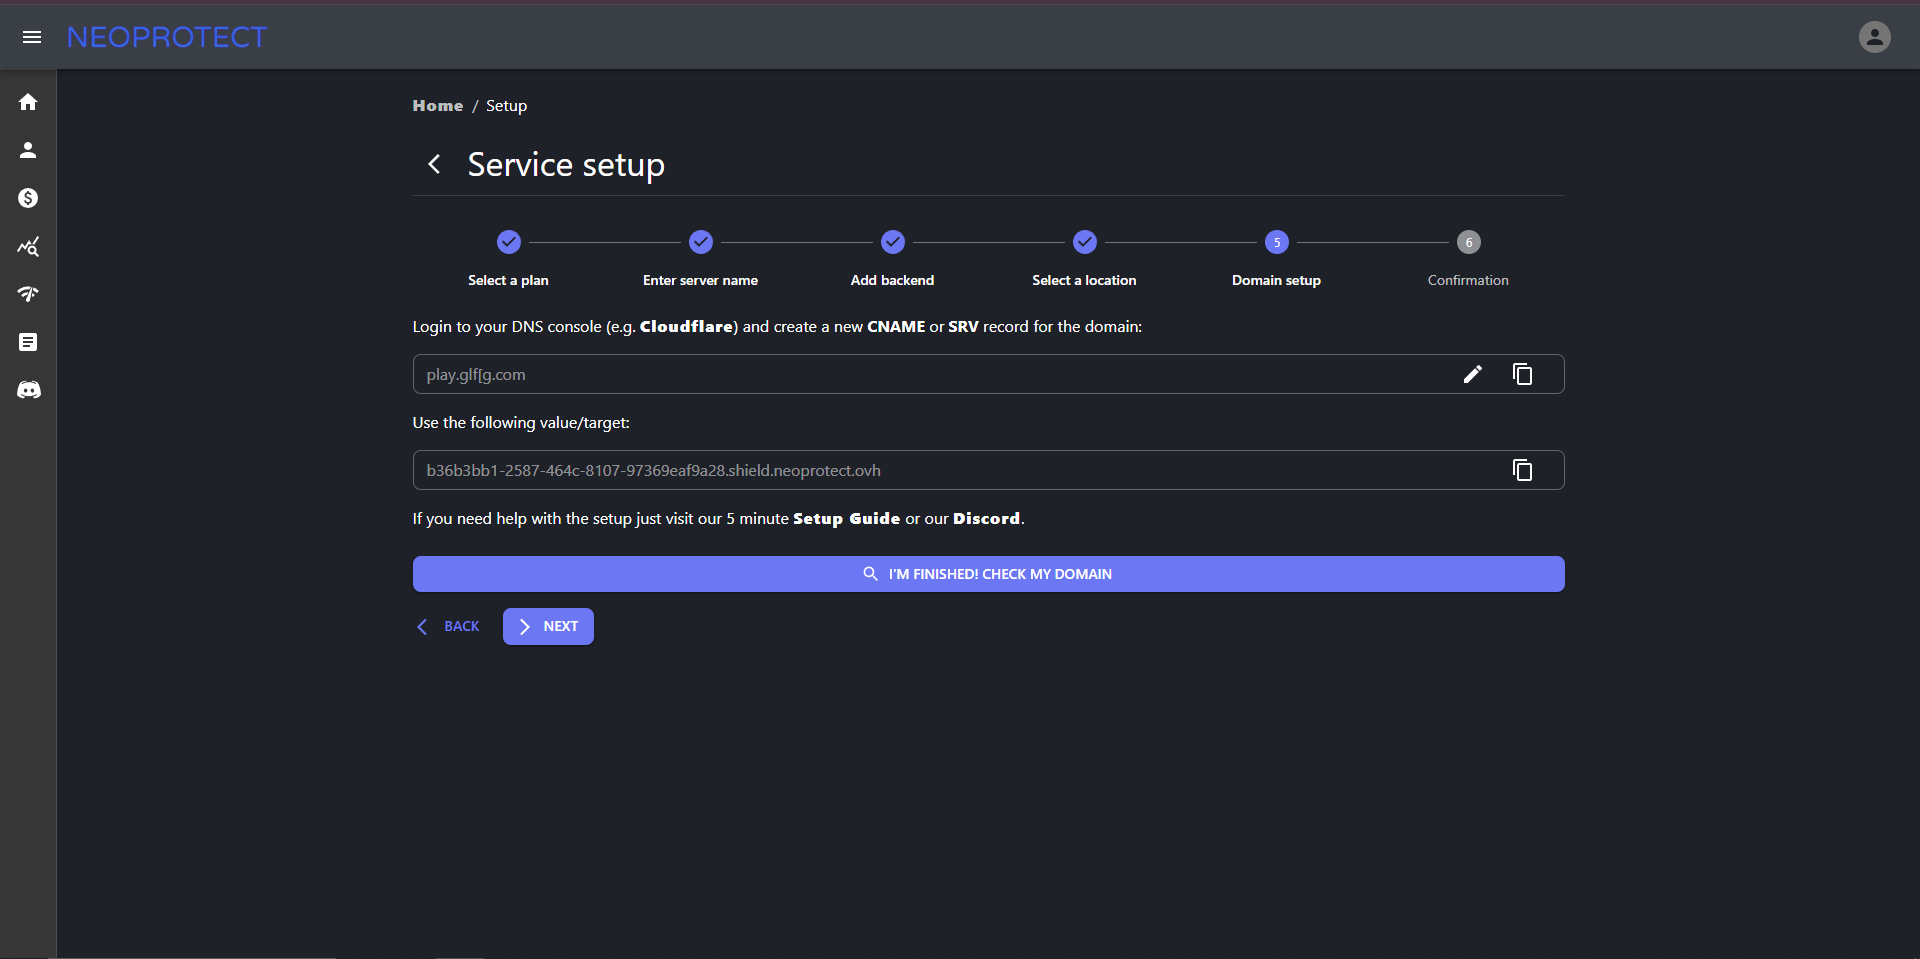
If you don’t have a domain name, then simply copy the long domain, which is the second one, and continue.
If everything is done correctly, the site will say that everything has been successfully saved and the server is already protected.
